


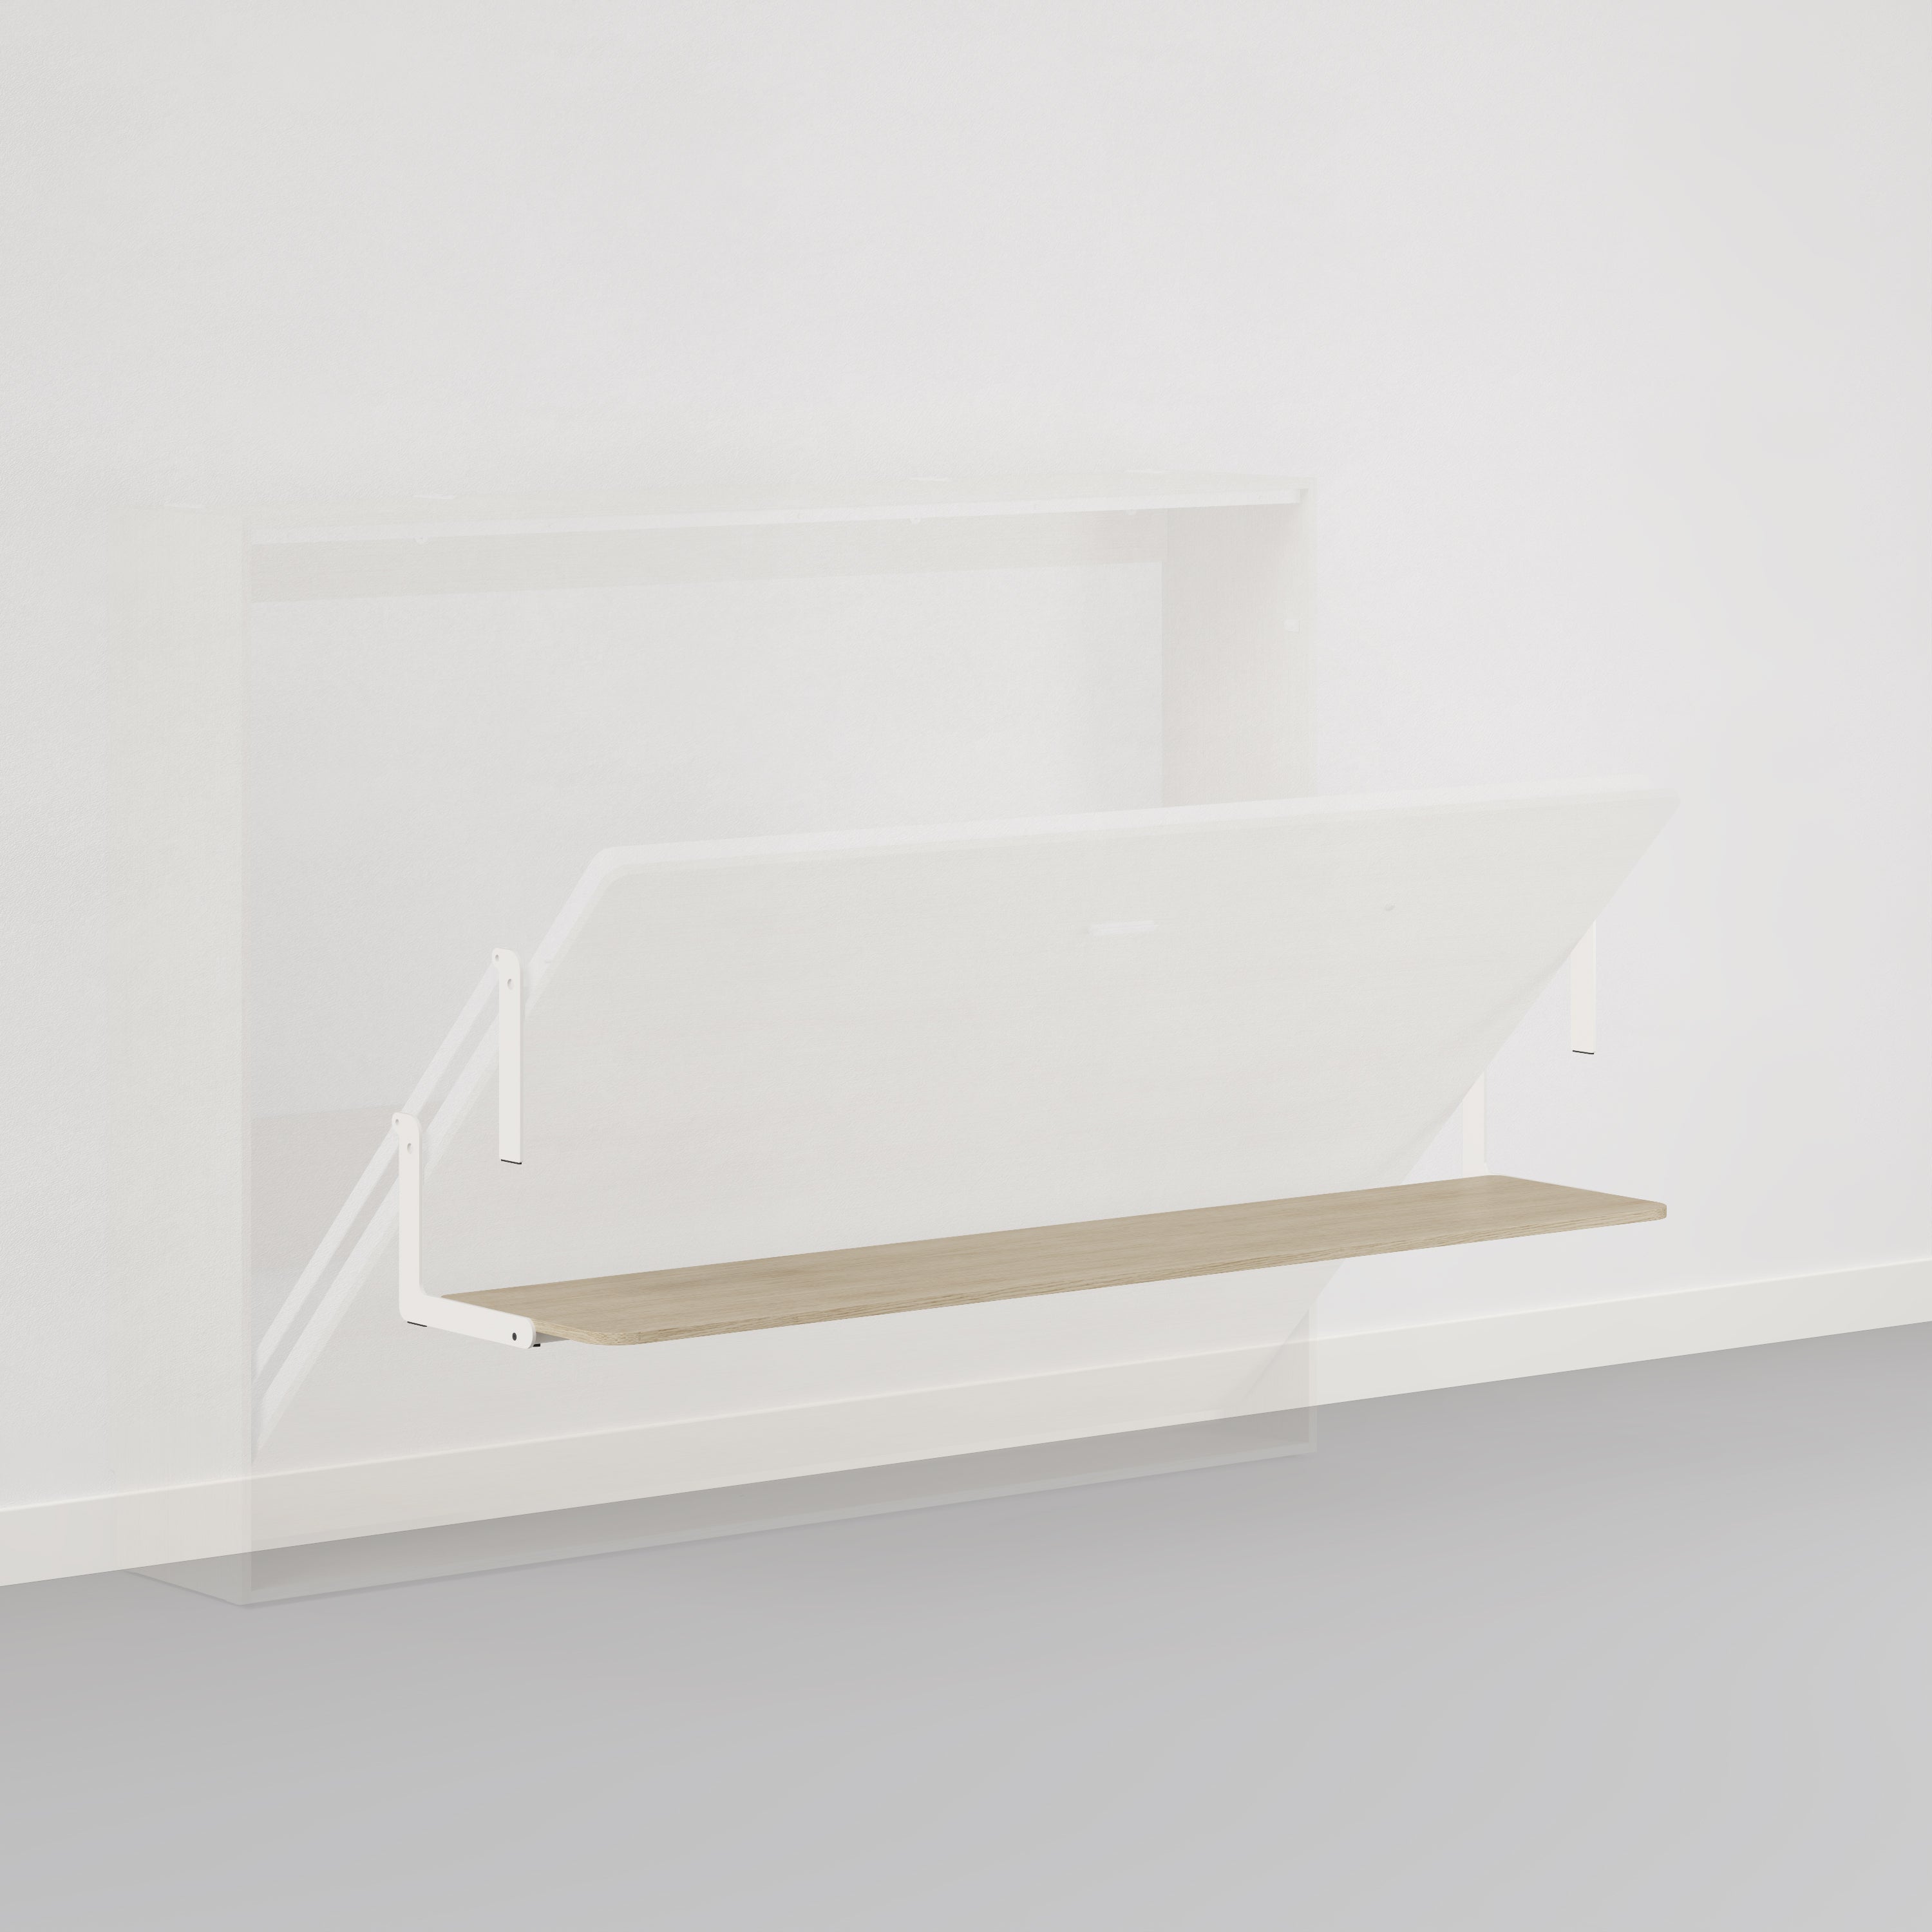


Named after William L. Murphy, who patented the bed-in-wall design in the early 1900s, this ingenious invention is perfect for small apartments, guest rooms, or multifunctional spaces.
But why customize your own Murphy bed? Aside from saving space, a DIY Murphy bed lets you tailor the look and functionality to suit your needs. Whether you want a sleek design that blends seamlessly with your décor or additional storage options, crafting your own Murphy bed is an exciting project that’s surprisingly beginner-friendly.
Key Takeaways:
- Murphy beds save space without sacrificing style.
- With clear plans and step-by-step instructions, building your own Murphy bed is a manageable project. Plus, you’ll gain the satisfaction of creating something functional and beautiful.
- Murphy beds offer endless design options. Add storage shelves, pick the perfect finish, or create a unit that matches your décor.
A Murphy bed kit can save time because the hardware, instructions, and key parts are already designed to work together.
AT A GLANCE
What Is a Murphy Bed, and Why Is It Popular?
Murphy Bed Plans: What to Include Before Building
Murphy Bed Plans for Beginners
DIY Murphy Bed: The Basics
Step-by-Step DIY Murphy Bed Plan
Tips for a Successful Murphy Bed DIY Project
Free Murphy Bed Plans vs Murphy Bed Kit
Common Murphy Bed Building Mistakes
Final Words
What Is a Murphy Bed, and Why Is It Popular?
A Murphy bed, otherwise known as a pull-down bed or wall bed, is a foldable bed that tucks neatly into a wall, cabinet, or shelving unit. When not in use, it blends seamlessly into the room, giving you extra floor space.
Why people love Murphy Beds
- Space-saving magic: Turn any room into a multipurpose space by hiding the bed when it’s not needed.
- Stylish storage: Modern Murphy beds double as beautiful cabinets or bookshelves.
- Cost-effective solution: Instead of buying extra furniture or renting a larger space, you can maximize what you already have.
- Rising demand for multi-functional furniture: A 2022 trend analysis highlights the increased use of space-saving furniture like Murphy beds, offering dual purposes such as storage and workspaces.
- Customizable designs: From minimalistic to elaborate, Murphy beds can be tailored to match your decor.
Lori Beds is a great example of a brand that has revolutionized Murphy beds. Our designs are simple, sleek, and beginner-friendly, making them the perfect inspiration for your DIY adventure.
Murphy Bed Plans: What to Include Before Building
Good Murphy bed plans should tell you exactly what to buy, cut, drill, sand, assemble, attach, and finish. If the instructions skip details, you may spend more money fixing mistakes than you would have spent on a better plan or kit.
Use this checklist before you decide which plans to follow. If you find a free plan on a website, search the comments, photos, and update notes before you purchase materials or start building.
- Mattress size and thickness
- Vertical or horizontal orientation
- Finished cabinet width, height, and depth
- Bed frame dimensions
- Plywood, lumber, fir, trim, shelves, and hardware list
- Cut list for every board and panel
- Drill bit sizes and hole locations
- Wall attachment method
- Leg design and attachment detail
- Door, cabinet face, or panel design
- Step-by-step instructions with diagrams or video support
- Finishing instructions for sanding, painting, staining, or matching the same color as the room trim
- Kit availability, lead time, and which parts ship with the kit
Murphy Bed Plans for Beginners
|
Plan Type |
Best For |
Main Materials |
Hardware Needed |
Typical Build Detail |
Notes |
|
Simple horizontal Murphy bed |
Low ceilings, kids' rooms, guest rooms, or an office with limited wall height |
Plywood, lumber, cabinet panels, bed frame boards, trim |
Hinges, screws, brackets, wall anchors, pulls, leg hardware |
Beginner to moderate |
Often easier for a first DIY Murphy bed because the cabinet is shorter and the panels are easier to lay flat on the floor. |
|
Simple vertical Murphy bed |
A guest bedroom or spare room with enough wall height |
Plywood, lumber, bed frame boards, side panels, top panel, cabinet face |
Hinges, screws, brackets, wall anchors, leg hardware |
Moderate |
Uses wall height instead of width. Measure ceiling height, mattress length, and floor clearance before cutting. |
|
Murphy bed with shelves |
Guest room, family room, or office where storage matters |
Plywood, lumber, shelves, trim, cabinet panels |
Hinges, brackets, wall anchors, shelf pins, screws |
Moderate |
Shelves add storage but require square cabinet sides and careful alignment so the finished unit looks built-in. |
|
Murphy bed with desk |
An office or studio where the bed and desk share the same wall |
Plywood, lumber, desktop panel, cabinet panels, frame parts |
Hinges, brackets, desk support hardware, and wall anchors |
Advanced beginner to intermediate |
Plan the desk height, chair clearance, and where the bed will land before you assemble the cabinet. |
|
Murphy bed kit |
DIYers who want detailed instructions and less measuring risk |
Pre-designed bed parts, cabinet pieces, shelves, or support components, depending on the kit |
Kit hardware, wall anchors, screws, included parts |
Beginner to moderate |
A kit can reduce guesswork because the parts, instructions, and hardware are designed to work together. |
|
Custom built-in Murphy bed |
Homeowners who want a finished cabinet look with doors, trim, and matching paint |
Cabinet-grade plywood, lumber, trim, doors, paint, edge banding |
Hinges, wall anchors, brackets, pulls, leg hardware |
Intermediate |
Best when you want the same color as the surrounding trim or shelves. It takes longer, but it can look awesome when painted and sanded well. |
DIY Murphy Bed: The Basics
Building your own Murphy bed might sound intimidating, but with a simple plan and basic tools, it’s a fun and rewarding project. Here are the essentials:
1) Choose your design
Murphy beds come in two main types:
- Vertical Murphy Beds: The bed stores up into a cabinet along its long side.
- Horizontal Murphy Beds: The bed stores sideways into a cabinet.
A vertical Murphy bed uses more wall height, while a horizontal Murphy bed uses more wall width. Your best choice depends on ceiling height, room layout, mattress size, and how people move through the space.
Choose a vertical design when the room has enough ceiling height, and you want the bed to project straight out from the wall. Choose a horizontal design when the room is wider than it is tall, when the bed is going under shelves, or when a lower cabinet works better with the space.
For a beginner, a horizontal full-size Murphy bed is slightly easier to build.
2) Plan your dimensions
Measure the room, wall, floor, and mattress before buying materials. A small measuring mistake can create a cabinet that blocks doors, hits shelves, or leaves too little space for the bed to lower safely.
Start with the wall where the cabinet will be attached. Check the width, ceiling height, baseboard depth, outlet locations, studs, and any nearby doors or windows. Then measure the floor area where the mattress will rest when the bed is down.
For Lori Beds products, room-size guidance depends on size and orientation. A twin Lori Bed needs about 4 to 8 feet of wall space and 5 to 8 feet of floor clearance, depending on orientation. A queen Lori Bed needs about 6 to 8 feet of wall and floor space, depending on orientation.
3) Gather materials and tools
A beginner DIY Murphy bed usually starts with plywood, lumber, screws, hinges, or bed hardware, wall anchors, trim, paint, and a mattress that fits the plan. Choose durable materials because the bed frame, cabinet, and legs carry real weight every time the bed is used.
Here’s a simplified list:
Materials:
- Plywood or MDF for the bed frame and cabinet
- Hinges
- Screws and brackets
- Paint, wood stain, or veneer for finishing
Tools:
- Drill
- Saw (circular or jigsaw)
- Measuring tape
- Sandpaper
- Screwdriver
If you prefer a Murphy bed kit, companies like Lori Beds offer pre-cut Murphy bed hardware, saving you time and effort.

Get $200 Off on the Murphy Bed
Step-by-Step DIY Murphy Bed Plan
Follow these steps to craft your own Murphy bed:
Step 1: Build the Bed Frame
- Cut the Wood: Cut two long pieces and two shorter pieces for the frame’s sides and ends. Use plywood for a lightweight but sturdy option.
- Assemble the Frame: Secure the pieces together using screws and brackets, forming a rectangle.
- Add Support Slats: Install horizontal slats across the width of the frame to support the mattress.
Step 2: Construct the Cabinet
- Measure the Cabinet: The cabinet should be slightly larger than the bed frame to accommodate the folding mechanism.
- Cut and Assemble Panels: Cut panels for the back, sides, and top of the cabinet. Assemble them into a box shape.
- Attach a Bottom Shelf: Add a sturdy shelf inside the cabinet for extra storage or support.
Step 3: Install the Folding Mechanism
- Choose the Right Mechanism: Lori Beds emphasizes simplicity with its strap-free and spring-free design, making it beginner-friendly.
- Secure Hinges: Attach hinges to the bottom of the bed frame and the cabinet.
- Test the Movement: Ensure the bed folds and unfolds effortlessly.
Step 4: Add Finishing Touches
- Sand and Paint: Sand surfaces to remove rough edges. Then, apply wood stain or paint to match your home's decor.
- Attach Handles or Knobs: These will make it easier to pull the bed down.
- Decorate the Cabinet: Use veneer, molding, or stencils to give the cabinet a polished look.
Step 5: Install the Mattress and Test the Bed
Install the mattress after the cabinet is attached, the hardware is secure, and the frame moves smoothly. Raise and lower the bed several times with two people to check clearance, leg position, and cabinet alignment.
Watch the corner edges, trim, and floor during testing. If the bed rubs, stop and adjust before guests use it. Don't let the frame fall into place or drop quickly during testing because that can damage the cabinet and hardware.
Tips for a Successful Murphy Bed DIY Project
Preparation and patience are key to any successful DIY project. Here are tips for creating a safe, functional, and aesthetically pleasing Murphy bed.
1. Work in an open space
Ensure you have enough room to spread out and maneuver large panels and tools. A garage, spacious living room, spare bedroom, or outdoor patio works best. Clear away clutter to minimize the risk of accidents and make the assembly process smoother.
2. Double-check measurements
Accurate measurements are critical for a successful Murphy bed build. Measure twice to ensure the bed fits within its intended space and aligns with wall studs for secure mounting. Even a slight error can lead to misalignment or a poor fit for the frame or mattress.
3. Secure to the wall properly
Safety is paramount. Use heavy-duty brackets or anchors rated for the weight of the bed to firmly attach the unit to the wall. If you’re unsure about the process, consult a professional or reference videos for best practices. This prevents tipping hazards and ensures long-term stability.
4. Start with a simple design
If you're a beginner, choose a basic plan with straightforward cuts and fewer decorative elements. This keeps the project manageable while building your confidence in woodworking.
Look for pre-designed DIY Murphy bed kits or templates, like those from Lori Beds. The Lori Bed and other variations, like the Lori Bed + Desk + Shelf, cater to beginners and offer detailed instructions.
5. Use the right tools and materials
Having the correct tools, such as a circular saw, drill, level, and clamps, makes assembly easier and results in a polished final product. Invest in quality plywood and screws to ensure durability, especially if the bed will see regular use.
6. Follow instructions carefully
If you're using a DIY Murphy bed kit or a downloadable plan, read through the entire instruction manual before starting. Understanding the steps ahead of time minimizes errors and frustration during assembly.
7. Finish and protect your bed
Once built, sand the surfaces thoroughly and apply paint, stain, or a protective sealant. This will enhance the look of your Murphy bed as well as protect it from wear and tear over time.
Free Murphy Bed Plans vs Murphy Bed Kit
Free Murphy bed plans can save money, but a Murphy bed kit can save time, reduce mistakes, and make the build easier. The best option depends on your tools, confidence, budget, and how much detail you want in the instructions.
Choose free plans if you already own tools, understand lumber and plywood cuts, and are comfortable customizing the project. Choose a kit if you want clearer instructions, tested hardware placement, and fewer decisions during assembly.
Lori Beds provides step-by-step guides and detailed plans that simplify the process of building a Murphy bed. These guides are beginner-friendly yet detailed enough for experienced DIY enthusiasts. The instructions often include diagrams, photos, and illustrations that make assembly straightforward.
 Unlock the potential of your space today with a Murphy bed kit.
Common Murphy Bed Building Mistakes
Avoid these mistakes, and the finished project will look better, feel safer, and last longer.
Mistake 1: Not checking for square
A bed frame or cabinet that isn't square can bind, rub, or sit crooked. Check each corner before the screws are fully tightened.
Mistake 2: Using weak materials
Thin panels and low-quality hardware may save money at first, but they can create a less durable bed. Use materials that match the plans and the expected mattress weight.
Mistake 3: Skipping wall attachment detail
A Murphy bed should be attached to the wall according to the plan, kit, or manufacturer's instructions. This is not the place to guess.
Mistake 4: Rushing the finish
Unsanded edges, visible nail holes, and uneven paint can make a solid project look unfinished. Fill, sand, and paint carefully before calling the bed assembled.
Mistake 5: Forgetting real room use
A Murphy bed needs space around it when guests are in the room. Leave room for walking, opening doors, pulling out legs, setting down luggage, and moving around the mattress.
FAQs About DIY Murphy Beds
Q: How Much Does It Cost to Build a Murphy Bed?
A: The cost of a basic DIY Murphy bed varies depending on the materials and hardware used. Pre-made kits, like those from Lori Beds, can save you time and reduce trial-and-error costs.
Q: Are Murphy bed plans beginner-friendly?
A: Murphy bed plans can be beginner-friendly when they include detailed instructions, diagrams, a cut list, hardware locations, and step-by-step instructions. If a plan leaves you guessing about the cabinet, bed frame, legs, or wall attachment, choose a better plan or a kit.
Q: Can I build a Murphy bed from plywood?
A: Yes, plywood is commonly used for Murphy bed cabinets, panels, and frame parts. Cabinet-grade plywood is a good choice when the bed will be painted because the surface finishes more smoothly than rough construction panels.
Q: Can I add shelves or a desk to a Murphy bed?
A: Yes, shelves or a desk can be added to a Murphy bed design, but they should be planned before building starts. Add-on pieces affect wall space, cabinet width, weight, trim, and how the room functions when the bed is in use.
Q: Can I Use Any Mattress?
A: Yes, but thinner mattresses (8–12 inches) work best for folding mechanisms. If you’re buying The Lori Bed, we highly recommend getting The Lori Mattress for a perfect fit.
Q: Is a DIY Murphy Bed Safe?
A: When properly secured to the wall, a Murphy bed is just as safe as a traditional bed.
Final Words
A DIY Murphy bed is not just a space-saver; it’s a fun project that adds personality to your room or guest bedroom. With clear plans and beginner-friendly tools, you can create a functional piece of furniture that blends style with practicality. And if you’re looking for inspiration or assistance, Lori Beds offers designs and kits that make it easier than ever.
Our Murphy beds are designed without complicated gas springs or pistons, making assembly approachable for beginners. Plus, our products prioritize safety and durability, ensuring your DIY creation will stand the test of time.
Grab your tools, get creative, and turn your home into a masterpiece of functionality and design. Your dream Murphy bed awaits!
Looking for a Murphy bed for your space?
Lori Beds offers modern Murphy beds built for small spaces, guest rooms, home offices, and everyday use. Explore vertical, horizontal, queen, and twin options, plus add-ons like desks, shelves, and storage.


Leave a comment
All comments are moderated before being published.
This site is protected by hCaptcha and the hCaptcha Privacy Policy and Terms of Service apply.